Everything you've always wanted to know about pie crust but were too afraid to ask
Tackling shrinkage, slumping, cracking, sticky dough, and more
Before I dive into today’s post, I want to show you a photo of what my pies used to look like just a few years ago:
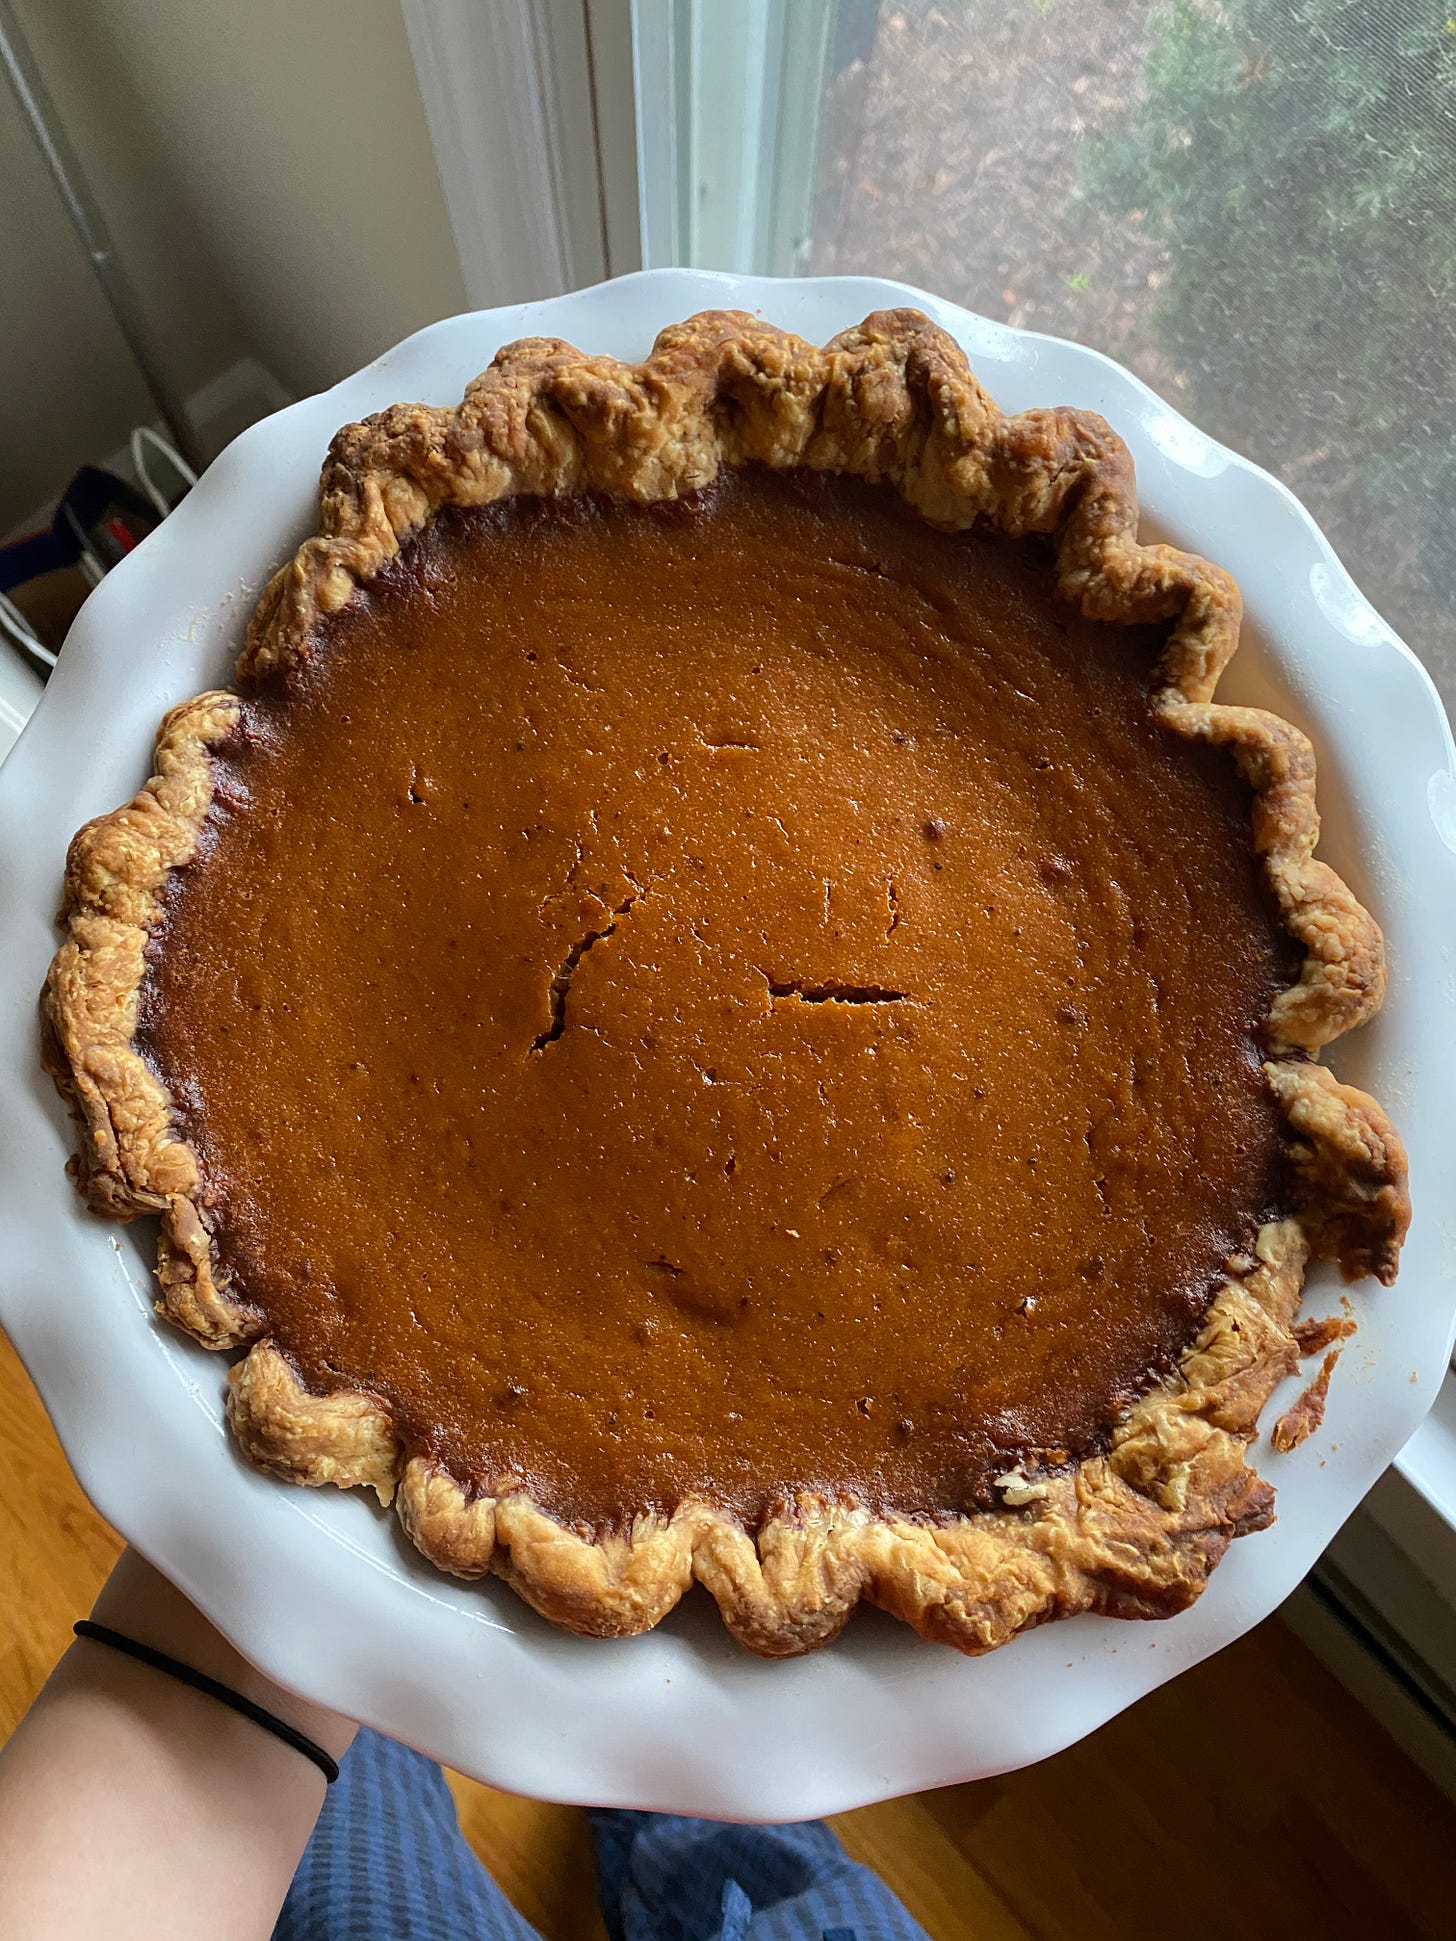
Fast-forward several year and many pies later and these days my pies are pretty consistently looking like this:
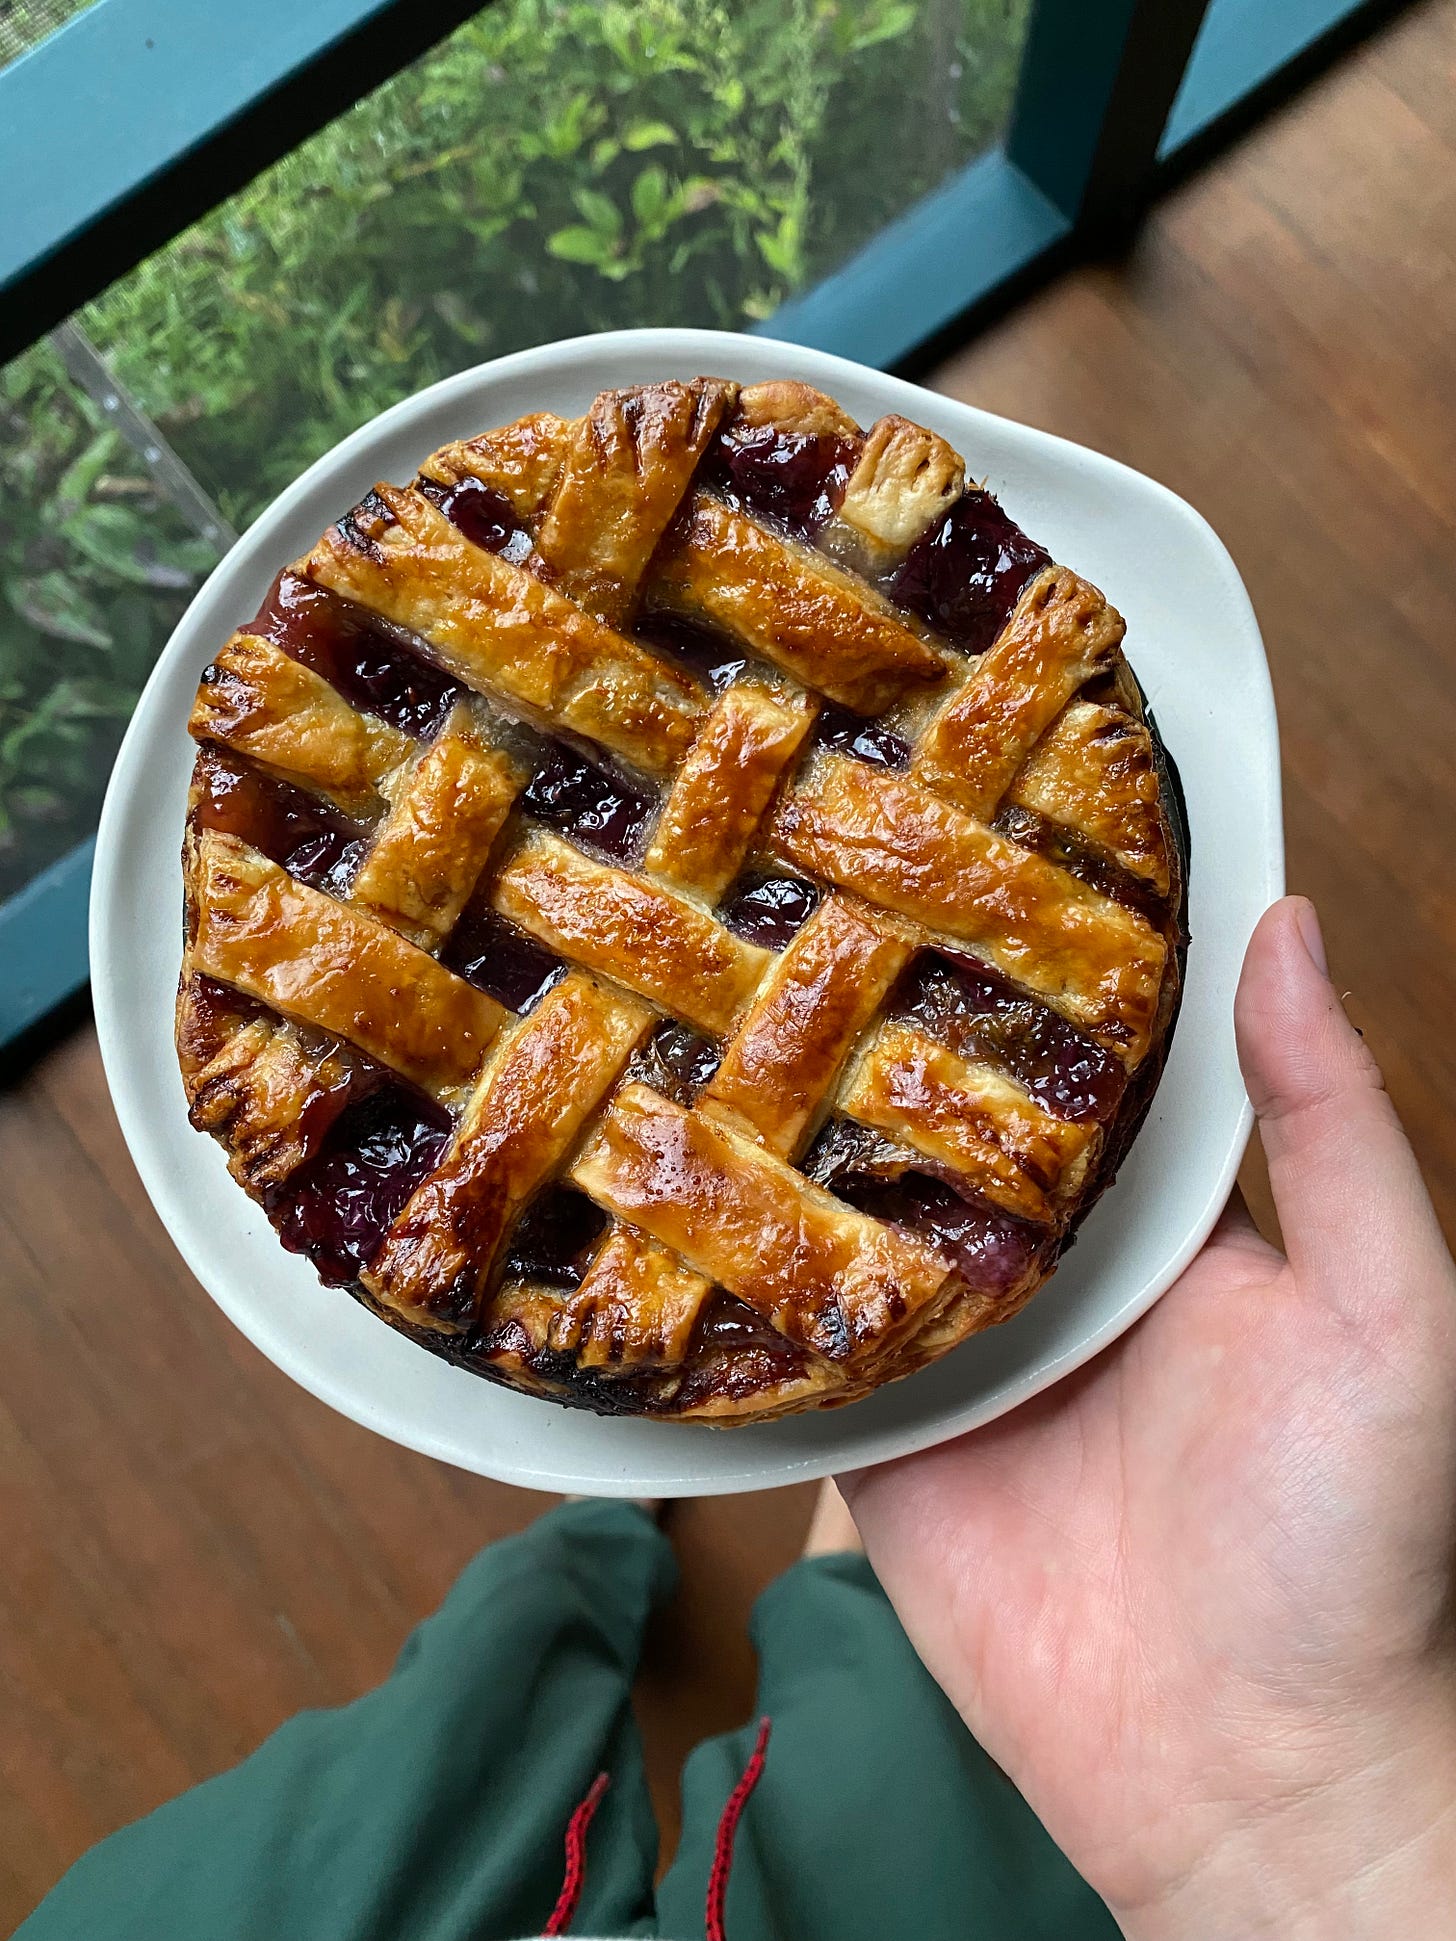
I’ve made a lot of pie crusts in my life, but only after many, many less-than-ideal attempts have I finally come to understand some key factors behind consistently great pie crust that’s tender yet flaky, rolls easily, and crimps beautifully, with no soggy bottoms to be found.
I think the vast majority of pie crust recipes make a lot of assumptions about what home bakers already know—much of which I humbly think they/we/you do not necessarily know! So today I’m going to address some common pie troubleshooting questions, as well as share a few of my go-to techniques for better pies. You can apply these tips to your own pie-making adventures, no matter which recipe you prefer. And, of course, I’d really love to know your own tips for mixing, rolling, and baking pie crust, or whether you end up trying any of the ones below. If you’ve always considered making your own crust too daunting, I hope this little guide serves to inspire some confidence.
–Chaey
Q: When a pie dough recipe calls for a range of water, e.g. “2 to 4 Tbsp. ice water” how do I know how much water to add?
A: It depends how much you’ve worked your butter into the dough. Many pie dough recipes will instruct you to work the butter into the flour until the largest butter pieces are “no bigger than a pea.” Others will call for you to rub butter into the flour until the mixture resembles “coarse crumbs.” Still others will call for you to smash large slices of butter into the flour to create “flat sheets.” If none of these indicators mean anything to you, don’t fret. All you need to remember is this: The more you work the butter into the flour, aka the harder it is to actually *see* the butter bits throughout the flour, the less water you will need to bring the dough together, because the butter is already hydrating the dough. Butter already contains quite a bit of water, so when you’re smooshing it quite a bit into the flour, you’re already starting to work water into the dough.
A good general rule of thumb is to always start by adding the lowest quantity of water called for, toss it through the flour/butter with your hands to evenly coat (as if you’re dressing a salad), then take a handful of dough and firmly squeeze it in your hand. It should easily clump together and feel neither overly dry nor wet/sticky, like so (if you’re interested in the stand mixer method I’m using in the video, see here):
Q: What does it mean when a recipe says to mix the dough “until shaggy”?
A: Honestly, the easiest way to answer this is to show you photos of what the perfect “shaggy” dough looks like to me:
In the photos above, you can see the dough on the left is comprised of moist clumps (I am so sorry, I will try not to repeat this phrase ever again) with some looser, drier bits. Once you use your hands to press the dough into a disc, the dry bits get incorporated into the dough mass.
Q: Why does my dough always crack around the edges when I’m rolling it out?
A: A wonderful question that has too many answers, but if I had to guess, the answer is likely one of three things:
Your dough might be too dry or unevenly hydrated. When dough doesn’t have enough water, or if it’s not properly hydrated (more on that below), it will feel and look dry and be prone to cracking. Not good. See the video above for an example of properly hydrated dough.
Your dough is too cold. Generally, you don’t want to roll out cold dough straight from the fridge—the butter will have solidified into hard chunks that won’t want to roll out into thin sheets (aka future FLAKES) within your beautiful dough. Let the dough sit out at room temperature for 10 to 15 minutes before rolling, or until a gentle finger prod leaves an indentation in the dough.
Your rolling technique could use a little finessing. Rolling out dough isn’t random—creating a nicely round disc of dough requires a series of even, consistent moves with your pin. I use the pastry chef Melissa Weller’s technique: Start in the center of the disc and roll away from you, moving from 12 o’clock to 3 o’clock across several rolls. Lift up the dough, dust the surface with a little more flour if needed, and turn the dough clockwise 90° and roll out again. Whatever your preferred method, constantly lifting the dough to make sure it’s not sticking to the surface is key.
Q: What should I do if my dough is sticky/hard to roll out?
A: First, don’t just reach for more flour—too much extra flour will make the crust tough, and won’t treat the real problem, which is that your butter is too soft. I recently read in Weller’s cookbook A Good Bake that it should take no more than one to two minutes to roll out a pie crust. I then timed myself rolling as fast as I could, checked the stopwatch, then lol’d and lol’d and lol’d. Unless you’re a professional pastry chef like Weller and have the experience of rolling out thousands of crusts under your apron belt, it likely takes you more like 5 minutes or longer to roll out a full crust. During this time, I absolutely guarantee that the butter in the dough is going to get soft enough to cause the dough to start sticking to your work surface. Unless you work very quickly, you will likely need to re-chill your dough in the fridge during the rolling process at least once, maybe even twice. I usually chill for 5-10 minutes at least once during my rollout process, and ever since I accepted this reality, my crusts have markedly improved. In the meantime, you know I’ll be working on that speed.
Q: My crust ALWAYS shrinks! HELP.
A: There are two likely culprits:
You’re inadvertently stretching the dough when you lay it in your pie pan. The gluten in the dough is like a rubber band: Stretch it out and it’s gonna want to spring back pretty much immediately. My preferred method for gently getting dough into pan with minimal stretching is to fold the rolled-out dough into quarters (make sure it’s chilled/floured adequately before folding so it doesn’t stick to itself) then place it in the pan and gently unfold it. Then I go around the pan and gently lift and lower the dough as far down into the pan as it can go, working a little bit at a time until I’ve worked my way around the whole circumference of the pie. From there you can trim the excess and crimp as usual.
You’re not resting the shaped dough long enough before baking. Once the dough is shaped and crimped, the last thing you want to do bake it right away. Chilling the shaped pie allows the aforementioned gluten to relax and the butter to get nice and cold again, both of which help your pie hold its shape better once it’s in the oven.
And because I have so much to say on this subject, here are a few more useful tips that are my personal preference:
For evenly hydrated dough that won’t crack when I roll it out, I always gently run a rolling pin over a wrapped disc of dough to smooth out the cracks and crumbles and eliminate any air bubbles in the plastic wrap. This ensures that every last bit of flour, including the drier bits, will get evenly hydrated by the butter and water as the dough rests in the fridge.
I always roll out my dough between two sheets of lightly floured plastic wrap. Not only does the plastic wrap do a terrific job of preventing sticking while requiring less flour (remember, too much dusting flour absorbed into the dough = tough crust), it also makes it a breeze to transfer the dough mass to a sheet pan when I need to re-chill the dough mid-roll.
I always chill my dough for at least 2 hours before rolling out, and then chill again for at least 1 hour after shaping in the pie pan. There are undoubtedly faster methods out there, but this is what I’ve found to work best for me in terms of maintaining pretty crimps and the overall shape of the crust.
When crimping the edge of the crust, I make it a point to press down and “anchor” the crimps securely into the lip of the pie pan. That lip around the pie pan is there for a reason—use it! I’ve noticed that when I do this, my crimps are more crisply defined after baking, and are less likely to slip/shrink.
After trimming away any excess dough around the rim of the pie pan, I shingle the scraps together on a piece of plastic wrap, wrap it up, then gently roll over it with a rolling pin to create one mass of dough. You can use this dough for little decorative cutouts, letters, etc. This is a trick I picked up from The Pie & Pastry Bible (see below).
Finally, if you really want to go deep on all things pastry dough, I cannot recommend these books enough:
The Pie & Pastry Bible by Rose Levy Beranbaum really is the bible, and is my favorite reference book for anything and everything about pies/tarts/pastries.
A Good Bake by Melissa Weller isn’t solely dedicated to pie, but Weller has a lot of great tips in the pies section and also goes deep on laminated pastries, if you want to go there!
The Book on Pie by Erin Jeanne McDowell answers every question you could possibly have about pie in an easy-to-understand, approachable way.
Dappled by Nicole Rucker, who owns the pie shop Fat + Flour in LA, wrote this dazzling cookbook for the fruit lovers, aka me.
Happy baking, y’all—leave questions/comments/troubleshooting in the comments as they arise and I’ll do my best to answer them promptly!
Thank you, thank you, thank you! This post answered so many of my questions about pie dough. I am curious about the stand mixer - whenever I use it to make pastry, I get a tough dough. I'd love more info on how to prevent that using the mixer.